Table of Contents
Are you tired of spending hours in the kitchen to create the perfect cheesecake? What if we told you that you can whip up a luxurious, creamy cheesecake in no time with just a blender? Yes, you heard it right – these easy blender recipes will transform your homemade cheesecake game forever.
Gone are the days of laboriously mixing ingredients and fretting over lumpy batter. With the power of a blender, these effortless gourmet treats are just a few simple steps away.
So, why not trade in your traditional methods for a faster, easier approach? Say goodbye to the stress and hello to decadence. Let’s dive into the world of blender cheesecakes and discover the secrets to creating mouthwatering desserts that will leave your taste buds begging for more.
The Easiest Crustless Cheesecake Recipe
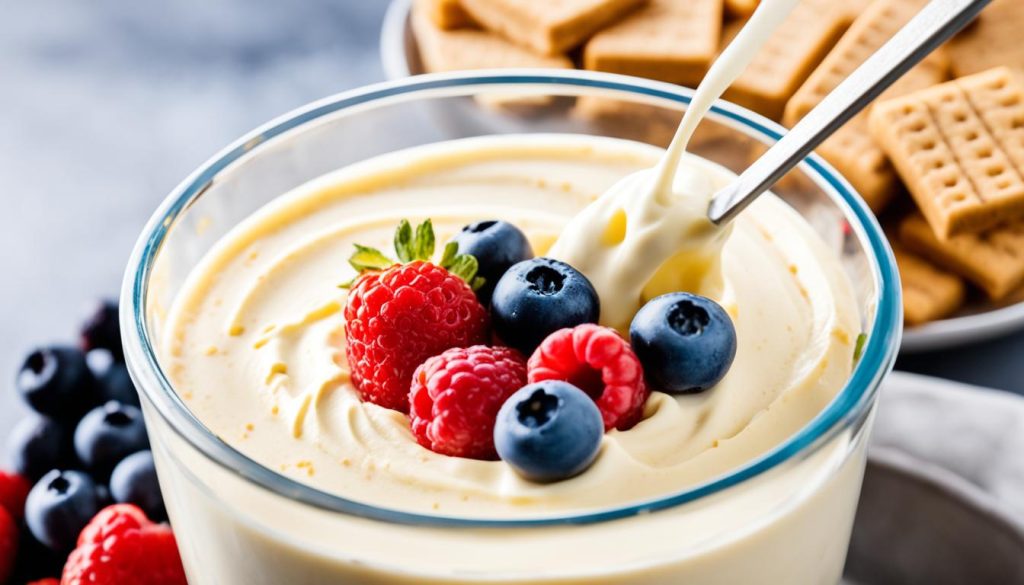
Craving a creamy and decadent cheesecake but don’t want the hassle of making a crust? Look no further! Our easy crustless cheesecake recipe is here to satisfy your sweet tooth without the extra effort. And the best part? You can make it using a blender, making the whole process a breeze.
This no-crust cheesecake delivers a rich and luscious texture reminiscent of New York-style cheesecakes. By skipping the crust, you can fully focus on the velvety smoothness of the filling and the indulgent flavors that harmonize perfectly together.
To create this culinary delight, you’ll need a few key ingredients. Gather eggs, granulated sugar, milk (or half and half), Original Bisquick mix, vanilla extract, and cream cheese. These simple ingredients blend together harmoniously in the blender, resulting in a velvety smooth batter that sets into a heavenly cheesecake.
Once your batter is prepared, it’s time to pour it into a lined pan and bake until it reaches a golden perfection. The simplicity of this recipe means you can confidently create a crustless cheesecake in no time.
Stay tuned for the next section, where we’ll provide a detailed list of ingredients and step-by-step instructions to guide you through the process of making this scrumptious crustless cheesecake.
Ingredients and Instructions for Crustless Cheesecake
To make this no-crust cheesecake, you’ll need a handful of simple and delicious ingredients. Here’s what you’ll need:
- Eggs
- Granulated sugar
- Milk (or half and half)
- Original Bisquick mix
- Vanilla extract
- Cream cheese
To add extra flavor and a delightful finish, we’ll also prepare a glaze. For the glaze, you’ll need:
- Sour cream (or Greek yogurt)
- Granulated sugar
- Vanilla extract
Optional toppings can include chopped chocolate or fresh fruit. Let your creativity shine!
Now, onto the easy instructions:
- Preheat your oven to 350°F (175°C) and lightly grease a 9-inch (23 cm) springform pan.
- In a blender, combine the eggs, granulated sugar, milk (or half and half), Bisquick mix, and vanilla extract. Blend until smooth and well combined.
- Add the cream cheese to the blender and blend again until the mixture is creamy and no lumps remain.
- Pour the batter into the prepared springform pan and smooth the top with a spatula.
- Bake for 40-45 minutes or until the cheesecake is set, with a slight jiggle in the center.
- Remove from the oven and let it cool in the pan for about 10 minutes.
- Carefully run a knife around the edges to loosen the cheesecake, then remove the sides of the springform pan.
- Allow the cheesecake to cool completely on a wire rack.
- In the meantime, prepare the glaze by mixing together the sour cream (or Greek yogurt), granulated sugar, and vanilla extract until well combined.
- Once the cheesecake is completely cooled, spread the glaze evenly over the top.
- For added indulgence, decorate with your favorite toppings such as chopped chocolate or fresh fruit.
- Refrigerate for at least 2 hours before serving to allow the flavors to meld together.
- Slice and enjoy this creamy, crustless cheesecake masterpiece!
Don’t forget to take a moment to admire your delicious creation before taking that first heavenly bite!

Make-Ahead and Serving Tips for Crustless Cheesecake
Creating a delicious crustless cheesecake is just the beginning. To ensure a stress-free experience and maximize your enjoyment, try these make-ahead and serving tips that will elevate your dessert to a whole new level.
Make-Ahead Desserts: Save Time and Impress Your Guests
One of the best things about this crustless cheesecake recipe is that you can prepare it a few days in advance. Simply refrigerate it until you’re ready to serve. By making it ahead of time, you’ll have more time to focus on other aspects of your special occasion, without compromising on taste.
Imagine the convenience of hosting a dinner party without worrying about last-minute dessert preparations. You can now savor the company of your guests while indulging in a slice of luxurious cheesecake.
Serving Suggestions: Toppings That Wow
A crustless cheesecake provides the perfect canvas for a variety of toppings that complement its creamy goodness. Here are a few serving suggestions to take your dessert to the next level:
- Fresh Fruit: Add a burst of color and natural sweetness by topping your cheesecake with an assortment of fresh fruit. Berries, sliced peaches, or kiwi are all excellent choices. The vibrant flavors of the fruit will perfectly balance the richness of the cheesecake.
- Salted Caramel: Drizzle some luscious salted caramel sauce over your cheesecake for a delightful contrast of sweet and salty. The velvety caramel will add a luxurious touch to your already decadent dessert.
- Whipped Cream: For an extra dose of indulgence, add dollops of freshly whipped cream on top of your cheesecake. Its light and airy texture will complement the creamy cheesecake filling, creating a delightful contrast.
With these serving suggestions, you can personalize your crustless cheesecake and impress your friends and family with a visually stunning and scrumptious dessert.
Now that you know how to make a show-stopping crustless cheesecake and serve it in the most delightful way, it’s time to put your skills to the test! Whether you’re planning a special occasion or simply want to treat yourself to a homemade gourmet dessert, this recipe is sure to satisfy your cravings.
No-Bake Cheesecake Cups in Individual Cups
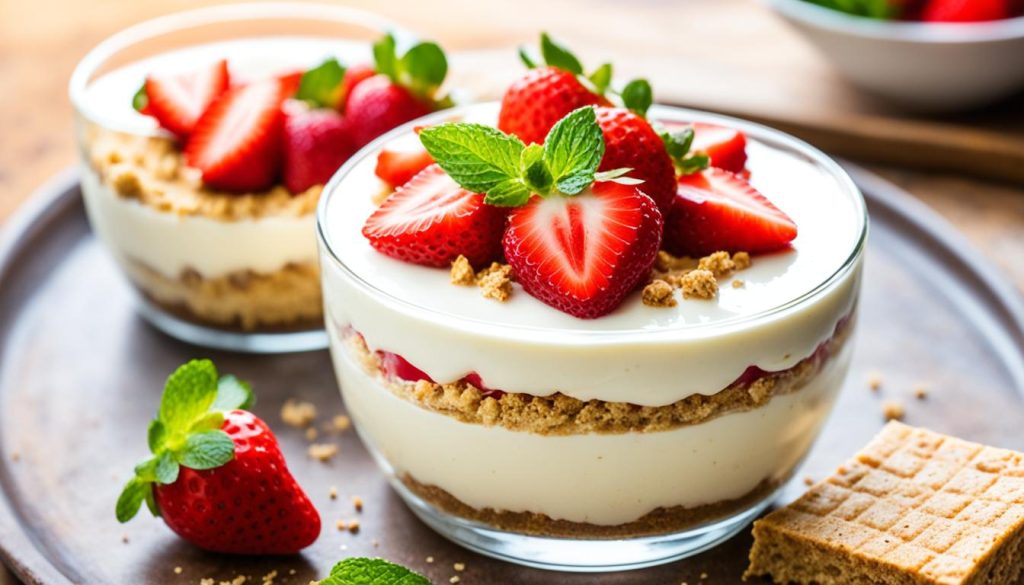
Indulge in the convenience and elegance of these no-bake cheesecake cups served in individual portions. These delightful treats are the perfect solution when you crave a rich and decadent dessert without the hassle of baking. With a delectable bottom layer of cookie crumbs and a creamy cheesecake mousse filling, these individual cups are not only visually appealing but also incredibly simple to make.
Creating these heavenly delights is as easy as 1, 2, 3. Start by preparing the cookie crumb crust. Simply crush your favorite cookies into fine crumbs and press them into the bottom of each cup, creating a deliciously crunchy base.
In a mixing bowl, whip together cream cheese, sugar, and vanilla extract until smooth and creamy. Fold in a dollop of whipped cream for an extra light and airy texture. Spoon the cheesecake filling on top of the cookie crust, filling each cup to the brim.
Refrigerate the individual cups for a few hours to allow the flavors to meld together and the filling to set perfectly. Once chilled, these no-bake cheesecake cups are ready to be enjoyed in all their lusciousness. Add a dash of creativity and personalize your cups with a variety of toppings such as fresh berries, chocolate shavings, or a drizzle of caramel sauce.

Whether you’re hosting a dinner party or treating yourself to a special dessert, these individual cheesecake cups are sure to impress. The single-serving portions not only make an elegant presentation but also provide the perfect balance of flavors and textures in every bite.
With no baking required, these easy dessert recipes are a lifesaver for those hot summer days when turning on the oven seems unbearable. The no-bake cheesecake cups offer a refreshing and indulgent treat that will satisfy any sweet tooth.
Create a stunning dessert display by arranging these individual cups on a serving tray or dessert table. The vibrant colors, smooth textures, and delicate presentation will have your guests swooning.
So, why wait? Treat yourself and your loved ones to these delightful, effortless creations. Whip up a batch of these no-bake cheesecake cups and get ready to indulge in a little slice of heaven.
Ingredients and Instructions for No-Bake Cheesecake Cups
Indulge in the delightful flavors of these no-bake cheesecake cups, perfect for a quick and easy dessert. Made with a delectable combination of graham cracker crumbs, cream cheese, granulated sugar, vanilla extract, and optional lemon zest, these cups are bound to satisfy your sweet tooth.
Gather the following ingredients:
- 1 ½ cups graham cracker crumbs (or other cookie crumbs)
- 8 oz (225g) cream cheese, softened
- ½ cup granulated sugar
- 1 tsp vanilla extract
- Optional: 1 tsp lemon zest
- 1 cup heavy cream
- Fresh fruit for topping
Follow these instructions to create your delicious cheesecake cups:
- In a bowl, combine the graham cracker crumbs with melted butter, mixing until well-coated.
- Divide the crumb mixture evenly among individual serving cups, pressing it down to form a crust layer.
- In a separate bowl, beat the cream cheese, granulated sugar, vanilla extract, and lemon zest (if using) until smooth and creamy.
- In another bowl, whip the heavy cream until soft peaks form.
- Gently fold the whipped cream into the cream cheese mixture, ensuring it is well incorporated.
- Spoon the cream cheese filling over the crust layer in the serving cups.
- Refrigerate the cheesecake cups for at least 2 hours to allow them to set.
- Prior to serving, garnish each cup with fresh fruit of your choice, such as berries or sliced peaches.
These delightful no-bake cheesecake cups are not only visually appealing but also a treat for your taste buds. The combination of creamy cheesecake filling and the crunchiness of the graham cracker crust will leave you craving more. Customize them by adding your favorite fresh fruits as toppings to enhance the flavor and presentation.
Blender Basque Cheesecake Recipe
If you’re looking for a show-stopping dessert that’s easy to make, this Blender Basque Cheesecake recipe is just what you need. With simple ingredients and a blender, you can create a decadent and creamy cheesecake that will impress all your friends and family.
To start, gather these five ingredients: cream cheese, mascarpone, caster sugar, vanilla bean paste, and extra-large egg yolks. Combine them in your blender and blend until smooth and creamy.
Once the batter is ready, pour it into a prepared cake tin and bake at a high temperature. This high-heat cooking method creates a deliciously burnt-like top, adding a unique flavor and texture to the cheesecake.
Allow the cheesecake to cool to room temperature before refrigerating it overnight. This step is crucial for achieving the perfect creamy and indulgent texture that makes Basque cheesecake so special.
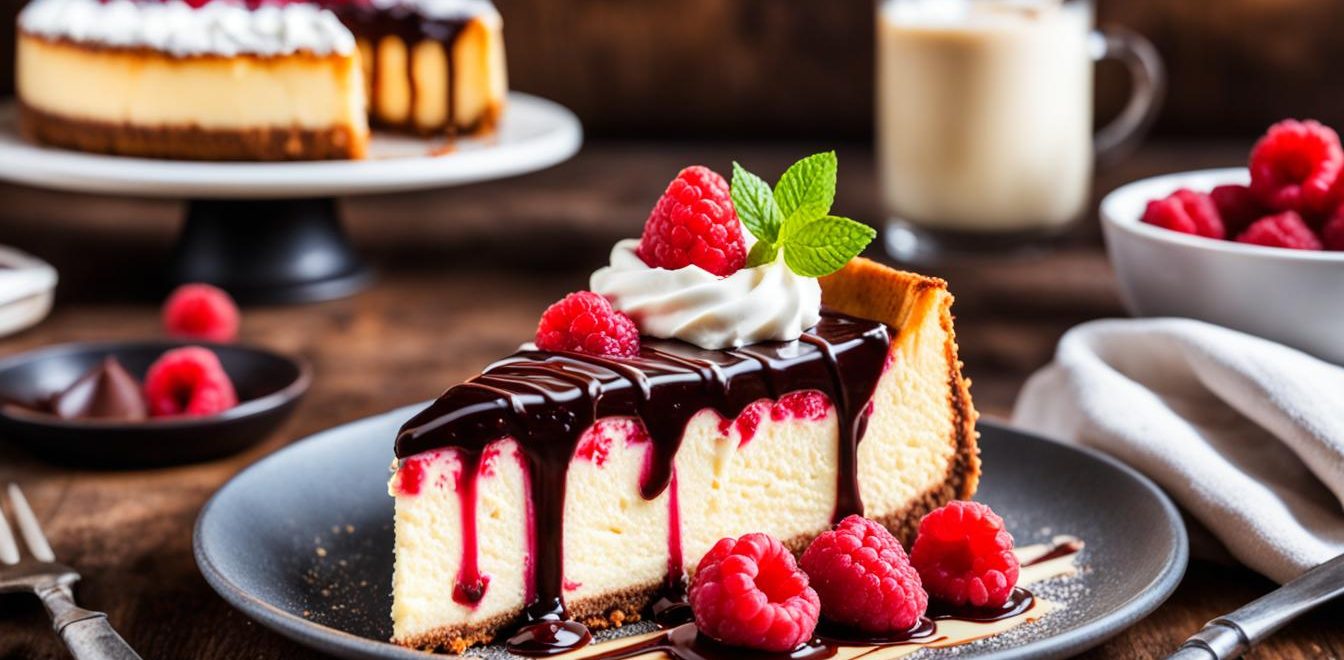
Now, it’s time to serve and savor this delightful dessert. Cut a generous slice of the Basque cheesecake and enjoy the heavenly combination of rich cream cheese, sweet vanilla, and the slight tang from the mascarpone. You won’t believe that such a masterpiece came together in just a blender!
Why Choose a Blender Basque Cheesecake?
Blender recipes are a game-changer for busy home cooks. With this recipe, you can skip the traditional mixer and still achieve the same incredible results. The blender effortlessly incorporates all the ingredients, resulting in a silky smooth batter with minimal effort on your part. Plus, the high baking temperature gives the cheesecake its distinctive flavor and appearance.
- Convenience: The blender simplifies the cheesecake-making process, allowing you to create a gourmet dessert with ease.
- Minimal Ingredients: This recipe requires only a handful of simple ingredients, making it perfect for when you’re short on time or don’t have a fully stocked pantry.
- Spectacular Flavor: The combination of cream cheese, mascarpone, and vanilla creates a rich and indulgent taste that will leave everyone craving more.
- Impressive Presentation: The burnt-like top adds a touch of elegance and sophistication to your dessert table.
Now that you know the secrets of a Blender Basque Cheesecake, it’s time to give it a try. Whip up this extraordinary dessert and impress your loved ones with a treat that looks as good as it tastes!
Instructions for Blender Basque Cheesecake
Now that you have all the ingredients ready, it’s time to make your delicious blender Basque cheesecake. Follow these simple instructions to bake a mouthwatering treat that will impress your taste buds!
- Preheat your oven to a high temperature, typically around 450°F (230°C). This high heat will help achieve the signature burnt-like top of the Basque cheesecake.
- Grease a cake tin of your choice, ensuring every corner is coated to prevent sticking. Line the bottom with parchment paper for easy removal once the cheesecake is baked.
- Now, gather all the ingredients and place them in a blender or food processor. Add the cream cheese, mascarpone, caster sugar, vanilla bean paste, and extra-large egg yolks.
- Blend the ingredients until smooth and well combined. The result should be a creamy, luscious batter that promises a decadent cheesecake experience.
- Pour the batter into the prepared cake tin, ensuring it is evenly distributed. Smooth out the top with a spatula or the back of a spoon for a professional finish.
- Place the cake tin in the preheated oven and bake for approximately 30-35 minutes, or until the top is beautifully dark and the edges are slightly set. The center will remain slightly jiggly, which is perfectly fine.
- Once the baking time is complete, remove the cheesecake from the oven and allow it to cool to room temperature. This cooling process is crucial for the flavors to develop and the cheesecake to set.
- Once cooled, cover the cake tin with plastic wrap or a lid and refrigerate the cheesecake overnight, or for at least 6 hours. This extended chilling time will ensure a firm and creamy texture.
- When you are ready to enjoy your homemade Basque cheesecake, remove it from the refrigerator, carefully unmold it from the tin, and place it on a serving plate.
- Slice and serve the cheesecake at room temperature, savoring every bite of its creamy richness. You can enjoy it plain or with a dollop of whipped cream and fresh berries for an extra touch of elegance.
Now that you have the step-by-step instructions, it’s time to bring out your inner pastry chef and wow your family and friends with this delectable blender Basque cheesecake. Happy baking!
Conclusion
Cheesecakes made in a blender offer a convenient and easy way to create indulgent desserts that are sure to impress. Whether you’re in the mood for a crustless cheesecake or a classic recipe, using a blender simplifies the process and delivers delicious results.
The blender method saves time and effort by effortlessly combining ingredients and creating a smooth, creamy texture. No need to worry about lumps or uneven mixing—just blend, pour, and bake your way to cheesecake perfection.
With blender baking, you have the freedom to experiment with a variety of flavors and toppings to customize your cheesecake creations. Add a fruity twist with fresh berries or tropical fruits, or satisfy your sweet tooth with chocolate drizzles or caramel sauce.
Next time you’re craving an easy and decadent dessert, turn to your blender for mouthwatering cheesecake recipes. Whether you’re a novice baker or a seasoned pro, these blender cheesecakes will become your go-to treats for any occasion.

