Table of Contents
Are you ready to take your cake decorating skills to the next level? Whether you’re a beginner or looking to enhance your techniques, knowing the best tips and tricks can make all the difference. From simple cake decorating ideas to mastering professional techniques, this article will guide you through the world of cake decoration. Get ready to create stunning, Instagram-worthy cakes that will impress everyone!
When it comes to cake decorating, having the right tools is essential. From cake decorating tools like piping bags and tips to turntables and offset spatulas, each tool plays a vital role in achieving a professional finish. But which ones should you invest in? How do you use them effectively? We’ll cover all of this and more in our comprehensive guide to cake decorating tools.
But it’s not just about the tools. Understanding the art of choosing the right cake layers, leveling your cakes to perfection, and selecting the ideal icing can greatly impact the outcome of your creations. Plus, we’ll reveal some alternative frosting options that will add a unique touch to your cakes.
So, whether you’re looking for easy cake decorating ideas or want to master advanced techniques, this is the ultimate resource for all your cake decorating needs. Get ready to unleash your creativity and become a cake decorating pro. Let’s dive in!
Essential Cake Decorating Tools
When it comes to cake decorating, having the right tools is essential for achieving professional-looking results. Whether you’re a beginner or a seasoned baker, these essential cake decorating tools will help you create stunning cakes that are sure to impress.
Cake Platter
A cake platter is a must-have for displaying and serving your beautifully decorated cakes. It provides a sturdy and elegant base for your creations, ensuring they look as good as they taste.
Cake Leveler
To achieve perfectly even cake layers, a cake leveler is essential. This tool allows you to trim the tops of your cakes, creating a level surface for stacking and decorating.
Piping Bag and Piping Tips
Creating intricate designs and delicate details is made easy with a piping bag and piping tips. These tools allow you to pipe buttercream, royal icing, or other frostings onto your cakes in various patterns and shapes.
Offset Spatula
An offset spatula is a versatile tool that helps you achieve smooth sides and precise edges when frosting your cakes. It’s especially useful for spreading and smoothing out buttercream or ganache.
Turntable
A turntable is a game-changer in cake decorating. It allows you to easily rotate your cake while frosting or decorating, giving you better access to every angle. This tool ensures even and consistent decorations all around your cake.
By having these essential cake decorating tools in your arsenal, you’ll be well-equipped to create stunning cakes with professional-looking finishes. So, get ready to unleash your creativity and take your cake decorating skills to new heights!
Choosing the Right Cake Layers
The number of cake layers can impact the overall appearance of your cake. Taller cakes with three layers tend to look better than shorter cakes with two layers. If your recipe calls for two layers and you want a taller cake, you have a couple of options:
- Increase the recipe by 50%: This means adding 50% more batter to the recipe to create a third layer. This method ensures all layers have a consistent taste and texture.
- Choose a recipe with three layers: Alternatively, you can select a recipe that already calls for three layers. This saves you from having to modify the original recipe and guarantees a balanced ratio of cake to frosting.
Experiment with different layering techniques to find the one that works best for your cake and desired aesthetic. Remember, the appearance of your cake layers can greatly enhance its visual appeal.
Leveling Your Cakes
Leveling your cakes is an important step in achieving a professional-looking cake. Even layers make it easier to decorate and create a visually appealing final product. There are two popular methods for cake leveling: using a sharp serrated knife or a cake leveler.
If you prefer the precision of a tool specifically designed for cake leveling, a cake leveler is a great option. It allows you to easily slice off the uneven tops of your cake layers, ensuring a level surface.
On the other hand, a sharp serrated knife can also do the job. Simply hold the knife horizontally and gently saw through the top of the cake, removing any excess to achieve an even surface.
Whichever method you choose, remember to take your time and work with caution to avoid any accidents. Once your cakes are leveled, you’ll be ready to move on to the next steps of decorating your masterpiece.
Choosing the Right Icing
The type of icing you choose can greatly impact your cake decorating experience. Sturdy icings like buttercream, cream cheese frosting, and Swiss meringue buttercream are recommended for beginner cake decorators. These icings are easy to spread, pipe well, and provide a smooth finish.
Buttercream is a classic choice for cake icing. It is made with butter, powdered sugar, and other flavorings like vanilla or chocolate. Buttercream is versatile and can be easily tinted with food coloring to create different shades for your cake decorations.

Cream cheese frosting is another popular option. It has a tangy flavor that pairs well with many cake flavors, especially carrot cake and red velvet cake. Cream cheese frosting is smooth and creamy, making it easy to spread on cakes.
Swiss meringue buttercream is a lighter and smoother icing. It is made by whisking egg whites and sugar over a double boiler, then gradually adding butter. Swiss meringue buttercream has a silky texture and is perfect for creating intricate piping designs.
Tips for Choosing the Right Icing:
- Consider the flavor profile of your cake and choose an icing that complements it.
- Think about the weather conditions – buttercream can soften in warm temperatures, while Swiss meringue buttercream holds up better.
- Take into account any dietary restrictions – cream cheese frosting is not suitable for people with lactose intolerance or dairy allergies.
Experiment with different icings to find your favorite. Each type of icing has its own unique properties and flavors, so don’t be afraid to get creative and try new combinations. Whether you’re decorating a birthday cake or a special occasion treat, choosing the right icing is key to achieving a professional and delicious result.
Making the Right Amount of Icing
Making extra icing is a smart move for beginner cake decorators. It’s always better to have more icing than you need to avoid running out and having to rush to make more. Making 50% more icing than the recipe calls for is recommended. Any extra icing can be frozen for later use.
When it comes to cake decorating, having enough icing is crucial. Whether you’re frosting a cake, piping intricate designs, or creating buttercream flowers, having extra icing ensures that you’ll have enough to complete your decoration without any last-minute stress.
Making additional icing is particularly important for beginner cake decorators who are still honing their skills. It allows you to have a margin of error and room to practice without worrying about running out of icing.
So how much extra icing should you make? A good rule of thumb is to prepare 50% more icing than the recipe calls for. This will give you a buffer and ensure that you have enough icing to achieve the desired look for your cake.
Don’t worry if you end up with leftover icing. Any extra icing can be stored in an airtight container and frozen for future use. This way, you can have icing readily available for your next cake decorating project without having to start from scratch.
Making the right amount of icing sets you up for success and allows you to focus on perfecting your decorating techniques. So remember, a little extra icing goes a long way in ensuring a stress-free and enjoyable cake decorating experience.
Applying a Crumb Coat
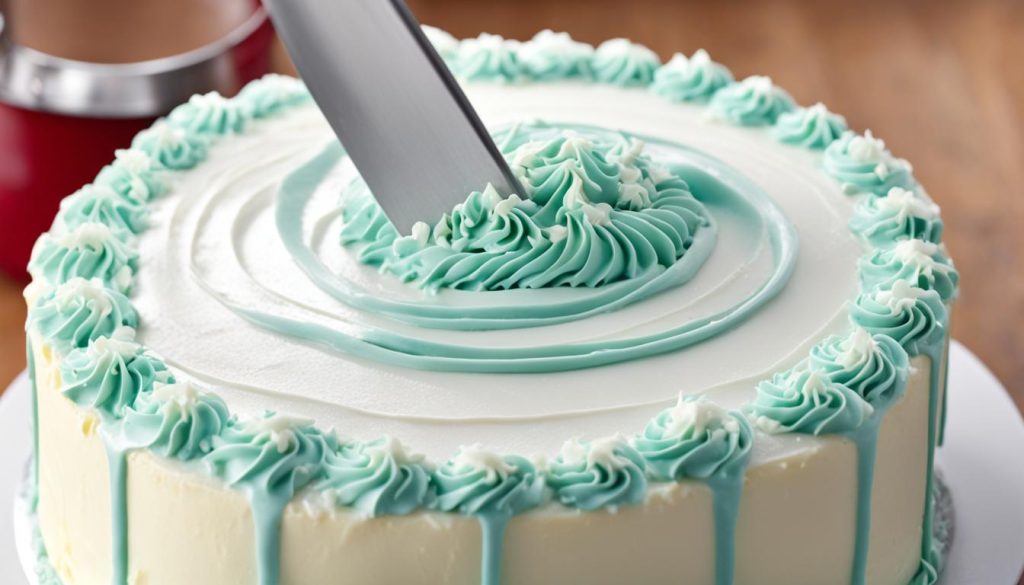
When it comes to cake decorating, one of the most important steps is applying a crumb coat. A crumb coat is a thin layer of icing that serves as a base for the final layer of frosting. Not only does it help to hold in any loose crumbs, but it also creates a smooth surface for a professional finish.
To apply a crumb coat, start by spreading a thin layer of frosting all over the cake using a spatula or offset spatula. Make sure to cover the entire cake, including the sides and the top. The purpose of the crumb coat is not to achieve a flawless appearance but rather to seal in any crumbs, so don’t worry if it’s not perfect.
Once the crumb coat is applied, refrigerate the cake for about 15-20 minutes. This will allow the frosting to set and firm up, making it easier to apply the final layer of frosting. After the cake has chilled, you can proceed with adding the final layer of frosting, using the same technique as before.
By applying a crumb coat, you’ll be able to achieve a clean and polished look for your cake. It’s a small extra step that can make a big difference in the overall appearance of your cake.
Benefits of Applying a Crumb Coat:
- Helps seal in loose crumbs
- Creates a smooth base for the final layer of frosting
- Ensures a professional finish
Adding Decorative Drips
When it comes to cake decoration, adding a chocolate ganache drip can take your creations to the next level. This intermediate-level technique adds an elegant touch and creates a polished look that will surely impress your guests. While not necessary for beginners, it’s a fun and creative technique to experiment with once you feel more confident in your cake decorating skills.
To achieve the perfect chocolate ganache drip, start with a smooth and completely cooled cake. Prepare a batch of ganache by heating equal parts of chocolate and heavy cream until smooth and shiny. Allow the ganache to cool slightly but still be pourable.
Next, pour the ganache onto the center of the cake, allowing it to naturally drip down the sides. Gently spread the ganache with an offset spatula to create a smooth and even finish. Take your time, as the key to achieving a beautiful dripped effect is patience and precision.
To add an extra touch, consider adding decorative elements such as edible flowers, sprinkles, or fresh fruits. These additions will not only enhance the visual appeal of your cake but also add a burst of flavor.
Experimenting with decorative drips will elevate your cake decoration skills and unleash your creativity. So go ahead, give it a try and enjoy the process of creating stunning and delicious cakes.
Decorating with Piping
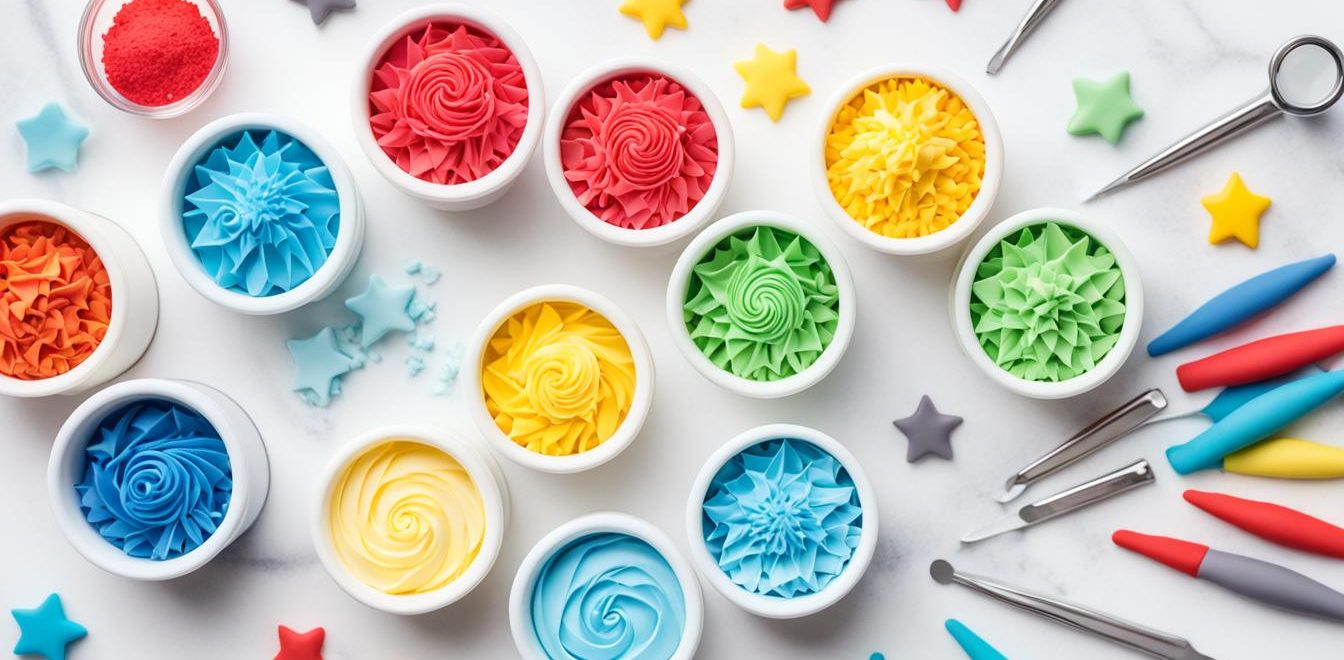
Piping is a versatile technique that allows you to create stunning designs on your cake. By using piping bags and tips, you can easily add swirling patterns, beautiful stars, or delicate ruffles to your cake decorations.
Before you start piping directly onto your cake, it’s a good idea to practice on a paper plate first. This will give you a sense of how the icing flows through the piping bag and help you master your technique.
When you’re ready to decorate your cake, fill the piping bag with your desired frosting or buttercream. Hold the bag firmly with one hand, applying gentle pressure to control the flow of icing. With your other hand, guide the piping tip to create the desired pattern or shape.
Don’t be afraid to get creative! Experiment with different piping tips to achieve various effects. Whether you want to create intricate borders or write personalized messages, piping is a fantastic way to elevate your cake decoration.
For an extra touch of sweetness, consider adding sprinkles or edible pearls to your piped designs. These small details can add a pop of color and texture, enhancing the overall visual appeal of your cake.
Here are a few piping tips to get you started:
- Use a round tip for creating smooth lines and borders.
- Try a star-shaped tip for adding beautiful rosettes or stars to your cake.
- For creating ruffles or frills, use a petal tip.
- Experiment with different nozzle sizes to achieve varying levels of detail.
Remember, practice makes perfect. Don’t be discouraged if your first attempts aren’t flawless. With time and practice, you’ll develop your own unique piping style and create beautiful cake decorations that will truly impress.
Decorating Naked Cakes
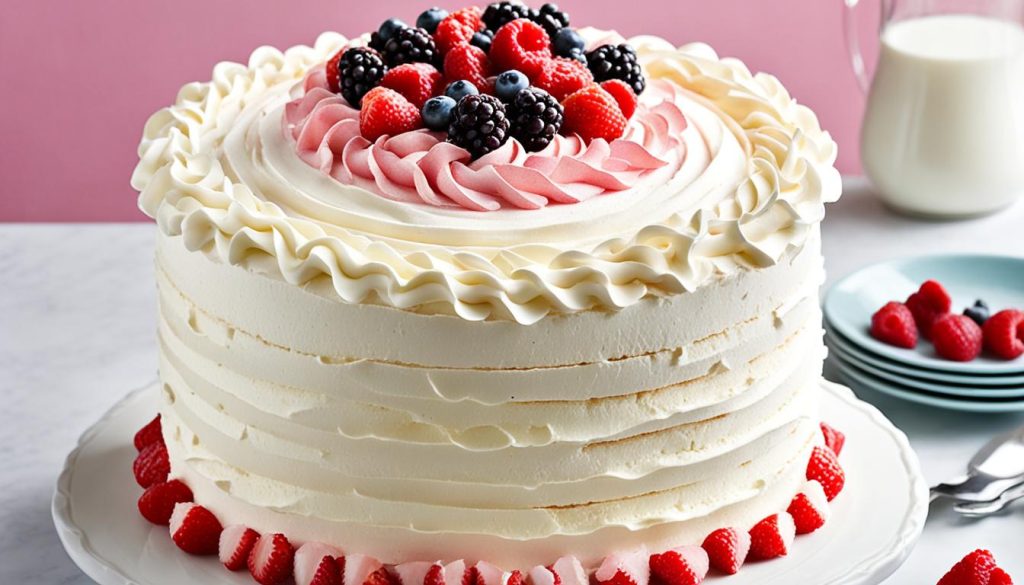
If you prefer a more minimalist and rustic look, naked cakes are the perfect choice for you. These cakes are layered with delicious icing on the inside but have little to no icing on the outside, allowing the natural beauty of the cake layers to shine through. The result is a unique and simple appearance that is both stunning and appetizing.
Naked cakes offer a wonderful opportunity for beginner cake decorators to focus on simple and elegant decorations. With fewer layers of icing to worry about, you can experiment with various decorating techniques and let the cake itself be the centerpiece. Whether you choose to add fresh fruits, edible flowers, or a light dusting of powdered sugar, the charm of naked cakes lies in their understated beauty.
When decorating a naked cake, consider enhancing its rustic appeal by incorporating natural elements such as fresh greenery or a touch of burlap ribbon. These organic accents will complement the simplicity of the cake and create a visually striking presentation.
Whether it’s a birthday, wedding, or any special occasion, naked cakes are a delightful choice for those who appreciate the beauty of simplicity. Their natural aesthetics and unique style are sure to impress your guests and provide a memorable dessert experience.
Alternative Frosting Options
While buttercream is the most common choice for cakes, there are alternatives if you’re looking for something different or less sweet. Experimenting with different frostings can add a unique twist to your cakes and cater to different taste preferences. Here are three great options to consider:
Stabilized Whipped Cream Frosting

Stabilized whipped cream frosting is a lighter and less sweet alternative to buttercream. It has a creamy texture and is made by combining whipped cream with gelatin or cornstarch to help it hold its shape and prevent it from deflating. This frosting is perfect for those who prefer a lighter and less sugary taste.
Ermine Frosting
Ermine frosting, also known as boiled milk frosting or flour frosting, has a smooth and velvety texture. It is made by cooking flour and milk together to create a thick paste, which is then mixed with butter and sugar. This frosting has a slightly sweet and less buttery taste compared to traditional buttercream. It pairs well with most cake flavors and is a great choice for those who want a creamy and not overly sweet frosting.
Swiss Meringue Buttercream
Swiss meringue buttercream is a silky and smooth frosting made by combining cooked egg whites and sugar with butter. It has a light and fluffy texture and a rich but not overly sweet taste. Swiss meringue buttercream is perfect for those who want a frosting that is less sweet and has a more delicate flavor. It is also great for piping intricate designs and creating a polished look.
Don’t be afraid to get creative and try these alternative frosting options. Each one offers a unique taste and texture that can take your cake decorating to the next level. Whether you’re looking for a lighter option, a less sugary taste, or a more delicate flavor, these alternatives will enhance your cake’s overall appeal.
Conclusion
Congratulations on reaching the end of our cake decorating journey! We hope these cake decorating tips and techniques have inspired you to unleash your creativity in the kitchen. As a beginner cake decorator, it’s important to remember that practice makes perfect. Don’t be discouraged if your first attempts don’t turn out exactly as you envisioned. With time and patience, you’ll develop your own unique style and master the art of cake decorating.
Remember to always use quality tools, such as a cake leveler, piping bag, and offset spatula, to ensure professional-looking results. Choosing the right icing, such as buttercream or cream cheese frosting, can significantly enhance your cake decorating experience. And don’t forget to have fun! Experiment with different designs, colors, and techniques to create cakes that reflect your personality and taste. So go ahead, grab your apron, and start decorating!
Whether you’re baking a cake for a special occasion or just for fun, these cake decorating tips will help you create show-stopping masterpieces. As you continue your cake decorating journey, don’t be afraid to seek inspiration from cake decorating tutorials and the work of other experienced decorators. With dedication and a passion for creativity, you’ll soon be wowing your friends and family with your fantastic cake creations. Happy decorating!

