Table of Contents
Have you ever wondered how to create stunning and unique edible decorations for your desserts? Imagine being able to personalize your cakes, cupcakes, and other sweet treats with custom designs that amaze your guests. It’s time to unleash your creativity and elevate your baking game with edible dessert decorations.
From edible cake toppers to decorative sugar shapes and fondant designs, the possibilities are endless. But where do you start? How can you make your own edible decorations that look professional and taste delicious?
In this article, we will guide you through the process of making edible dessert decorations from start to finish. We will explore the supplies you need, the steps to choose and apply your designs, and even share tips and tricks for creating show-stopping creations.
So, if you’re ready to take your desserts to the next level and impress everyone with your creative skills, let’s dive into the world of edible dessert decorations. Get ready to elevate your sweet treats and wow your guests with beautiful and delicious custom designs!
Choosing Your Design for Edible Dessert Decorations
When it comes to making edible dessert decorations, the first step is to choose your design. You have two options – you can either create your own design using edible design software or choose from pre-made designs available online.
If you decide to create your own design, you can use edible design software to bring your vision to life. With the help of edible design software, you can unleash your creativity and design unique and personalized edible decorations that perfectly match your event or theme.
If creating your own design feels overwhelming or time-consuming, don’t worry! There are plenty of pre-made designs available online. You can browse through a wide range of pre-designed edible cake toppers on various websites that specialize in edible decorations. These pre-made designs offer convenience and allow you to choose from a diverse selection of themes, styles, and patterns.
Once you have your chosen design, whether it’s your own creation or a pre-made design, you can bring it to life by printing it onto edible paper. To accomplish this, you will need an edible printer specifically designed for cake toppers. This specialized printer will allow you to transfer your design onto edible paper with ease and precision, ensuring that your edible decorations look professional and visually appealing.
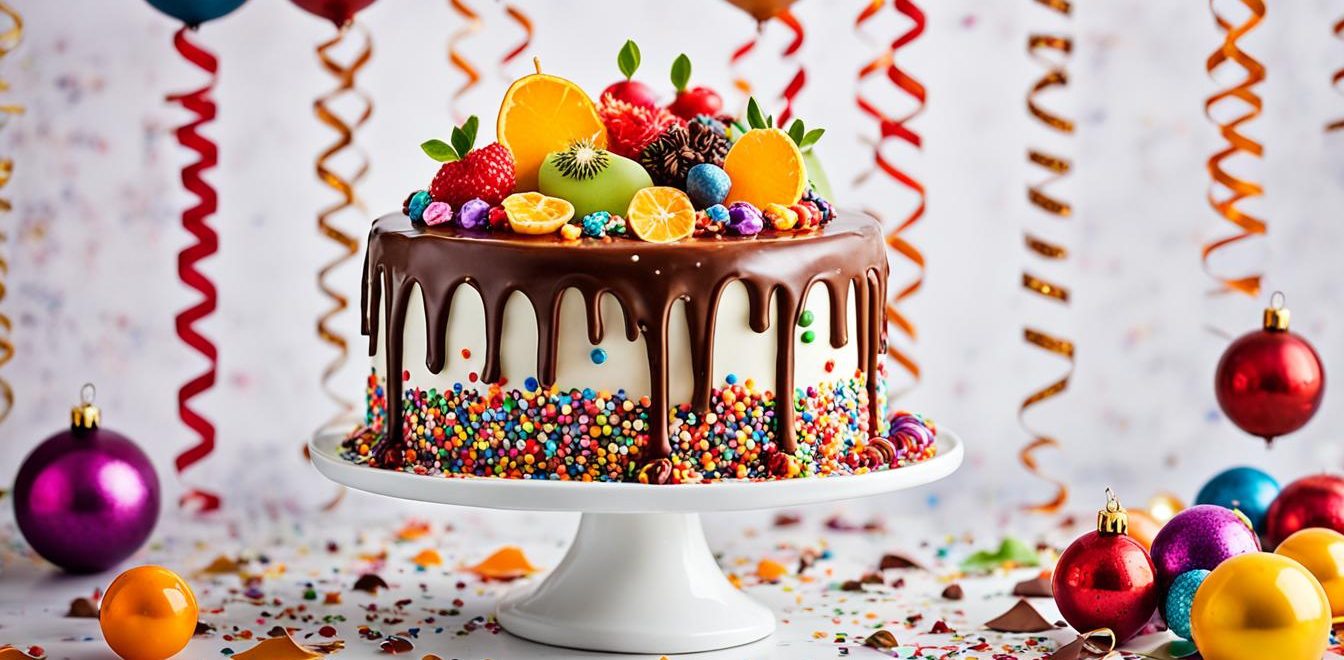
To help you visualize the process, take a look at this image of a beautiful edible design:
As you can see, choosing the right design is crucial for creating stunning and personalized edible dessert decorations. Whether you opt for creating your own design or selecting from pre-made designs, the key is to let your creativity shine and bring your desserts to life with edible decorations that are truly one-of-a-kind.
Cutting Out the Edible Designs
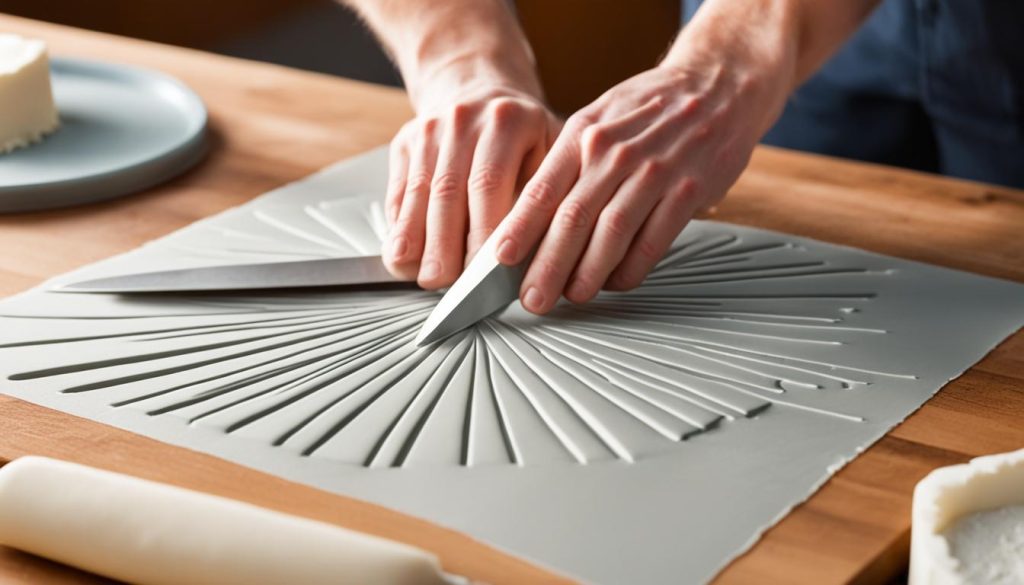
After choosing your design and printing it onto edible paper, the next step is to cut out the image. This is where the fun begins! Gather your scissors or a craft knife, and let’s get started on creating a clean and professional-looking edible topper.
Take your time with this step and make sure to follow the outline of the image exactly. Precision and accuracy are key to ensuring that your edible design turns out beautifully. Whether you’re cutting intricate shapes or simple outlines, it’s important to pay attention to every detail.
If you’re using scissors, hold them firmly and cut along the edges of the design with smooth and deliberate motions. Alternatively, if you prefer more precision and control, a craft knife can be a great tool. Use it to carefully trace the image, applying gentle pressure to create crisp and clean lines.
Remember, patience is essential when cutting out your edible designs. Take breaks if needed and avoid rushing through the process. The result will be worth the effort, as a clean and professional-looking topper will add that wow factor to your desserts.
Now that you’ve mastered the art of cutting out edible designs, it’s time to move on to the next step – preparing your cake for the edible cake toppers. But before we do that, let’s take a moment to appreciate your handiwork!

Expert Tips:
- Ensure your hands are clean and dry before handling the edible designs to avoid smudging or damaging them.
- For intricate designs, consider using a pair of small, sharp scissors for greater control.
- If using a craft knife, always work on a cutting mat or a protected surface to avoid accidents.
- Retrace the edges of the design if necessary to make any adjustments and ensure a precise cut.
Preparing Your Cake for Edible Cake Toppers
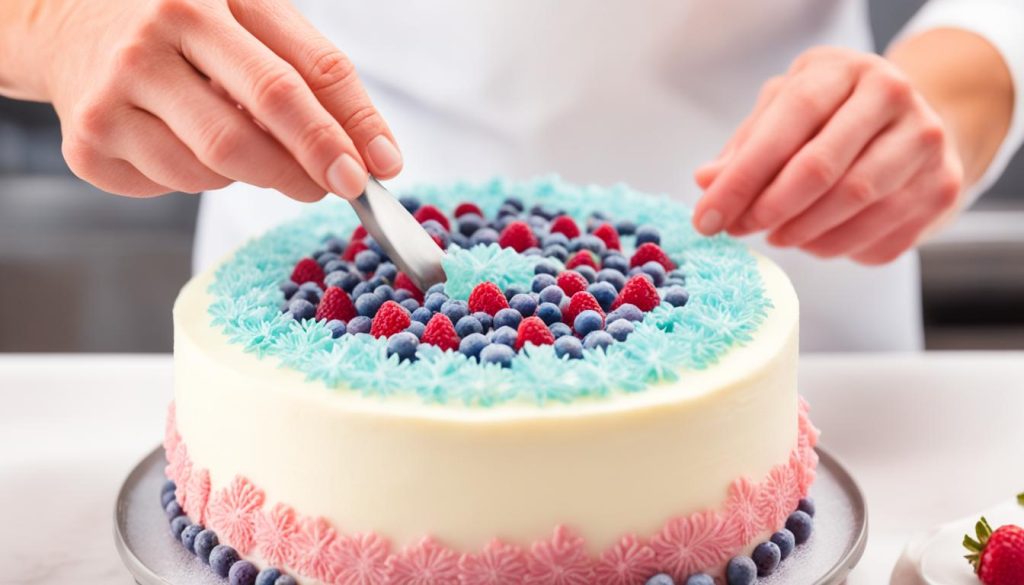
Before you can apply the edible cake toppers, it’s important to get your cake ready. The key here is to create a smooth and even surface for the toppers to adhere to. To achieve this, start by smoothing out the icing on your cake. You can use a spatula or a cake smoother to gently spread and flatten the icing, ensuring a flat and polished finish.
This step is crucial because it sets the foundation for the seamless integration of the edible cake toppers. When the surface is smooth, the toppers will sit perfectly on the cake without any unevenness or bumps. It also helps to create a visually appealing cake that is both professional-looking and attractive to your guests.
Now that you have prepared your cake by smoothing out the icing, you are ready to apply the edible cake toppers and take your dessert to the next level!
Applying the Edible Toppers to Your Cake
Now that your cake is ready, it’s time to delicately apply the edible toppers. Follow these steps to ensure a smooth and flawless application:
- Start by peeling off the backing paper from the topper.
- Place the topper gently onto the cake, ensuring it is in the desired position.
- Using your fingertips or a small spatula, carefully smooth out the edible topper. This will help remove any air bubbles or wrinkles that may have formed during the application.
- If you’re using fondant shapes or additional elements to enhance your edible cake topper, place them on top of the topper and press lightly to adhere them.
By delicately applying the topper and taking the time to remove air bubbles or wrinkles, you can bring your edible cake topper to life and create a stunning focal point for your dessert. Remember, attention to detail is key in ensuring a professional-looking finish.
Removing Air Bubbles and Wrinkles
Air bubbles and wrinkles can detract from the overall appearance of your edible topper. To avoid this, use the following techniques:
- Start from the center of the topper and gently press outward to smooth out any air bubbles.
- If you notice any wrinkles, lightly lift the topper and readjust it, smoothing it out as you go.
- If necessary, use a clean, dry brush or your fingers to further smooth out the topper, ensuring a seamless finish.
Adding Fondant Shapes and Enhancements
If you want to take your edible cake topper to the next level, you can incorporate fondant shapes or additional elements. Here’s how:
- Create fondant shapes that complement your design.
- Place a small amount of edible glue or water on the back of the fondant shape.
- Gently press the fondant shape onto the topper, taking care not to smudge or distort the design.
- Hold the fondant shape in place for a few seconds to ensure it adheres properly.
- Repeat the process for any additional enhancements you want to add.
Remember, when working with fondant shapes or additional elements, it’s important not to overload the topper, as it may become too heavy or unstable. Use them sparingly to enhance your design and maintain a cohesive and visually appealing result.

Creating 3D Design Edible Cake Toppers
If you want to take your edible cake toppers to the next level, you can explore creating 3D designs that will add a stunning wow factor to your desserts. One option for achieving this is by using wafer paper or rice paper to create intricate and detailed 3D designs on your cakes.
To start, use a craft knife to carefully cut out the desired shape from the wafer paper or rice paper. This will form the base of your 3D design.
After cutting out the shape, you can enhance it by adding color and detail. Use food coloring or edible paint to bring your design to life and make it visually captivating.
Once you’re satisfied with the appearance of the wafer paper or rice paper shape, it’s time to attach it to your cake. Use a small amount of royal icing as an adhesive to secure the 3D design to the cake. This will ensure that the design holds its shape and remains securely in place.
By using this technique, you can create stunning 3D edible cake toppers that will impress your guests and transform your desserts into works of art. The combination of wafer paper or rice paper, intricate cutting, and careful attachment will result in eye-catching designs that add an extra element of elegance to your cakes.
So unleash your creativity, experiment with different shapes and colors, and let your 3D design edible cake toppers steal the spotlight on your dessert table.
Benefits of Creating 3D Design Edible Cake Toppers:
- They add a stunning wow factor to your desserts
- They showcase your creativity and attention to detail
- They transform your cakes into works of art
- They impress your guests and make your desserts memorable
FAQs About Edible Dessert Decorations
In this section, we will address some frequently asked questions about edible dessert decorations. If you have any doubts or concerns, keep reading for helpful answers.
-
What is wafer paper?
Wafer paper is a thin, edible paper made from potato or rice starch. It is commonly used in cake decorating to create edible decorations like flowers, cake toppers, and other designs.
Now that we’ve covered some FAQs, let’s move on to the next section and explore more about the process of making edible dessert decorations.
Advantages of Using Edible Dessert Decorations
There are several advantages to using edible dessert decorations. Firstly, they allow you to add a unique touch to your sweet treats, making them stand out and impressing your guests. With edible decorations, you can take your desserts from ordinary to extraordinary, elevating the overall presentation and creating a lasting impression.
Secondly, edible decorations offer endless possibilities for personalization. Whether you’re celebrating a birthday, a wedding, or any special occasion, edible dessert decorations allow you to unleash your creativity and customize the designs to match the theme or event. From intricate patterns to custom images or messages, the options are limitless.
In addition to the aesthetic appeal, making your own edible decorations can be a fun and creative activity. It adds an extra layer of enjoyment to the baking process, allowing you to express your artistic side while preparing delicious treats. It’s a wonderful way to engage with your passion for baking and experiment with different designs and techniques.
So why settle for store-bought decorations when you can create your own unique edible accents? By incorporating edible dessert decorations into your baking repertoire, you can take your sweet treats to a whole new level and leave your guests in awe of your culinary skills.
Elevate your sweet treats and make a lasting impression with edible dessert decorations. Let your creativity soar and add a unique touch to every bite.
Tips and Tricks for Making Edible Dessert Decorations
Whether you’re a beginner or a seasoned baker, creating clean and professional-looking edible dessert decorations can be a fun and rewarding experience. To help you make the most out of your edible decorations, here are some tips and tricks:
- Practice precision and accuracy: When cutting out the edible designs, be sure to use sharp scissors or a craft knife and follow the outlines carefully. This will ensure clean and professional-looking results that will impress your guests.
- Take your time in choosing designs: Consider the occasion and theme of your event when selecting your edible decorations. Browse through various options and take your time to find the design that perfectly complements your desserts.
- Treate delicacy when applying the toppers: Gently remove the backing paper from the edible topper and place it onto your cake or cupcake. Smooth out the topper using gentle pressure to avoid air bubbles or wrinkles, ensuring a seamless and professional finish.
- Consider adding additional elements: To enhance your edible cake topper and make it stand out even more, you can incorporate fondant shapes or other decorative elements. These extra touches can bring depth and creativity to your dessert creations.
By following these tips and tricks, you’ll be able to create clean, professional-looking edible dessert decorations that will amaze your guests and make your sweet treats truly unforgettable.
Conclusion
Making edible dessert decorations is an exciting way to elevate your sweet treats and add a personal touch to your desserts. By following the step-by-step process outlined in this article and using the tips and tricks provided, you can create stunning and customized edible decorations that will leave a lasting impression on your guests. Whether it’s a birthday party, wedding, or any other special occasion, these edible decorations will take your desserts to the next level.
With the right supplies, such as edible design software, pre-made designs, and an edible printer for cake toppers, you can unleash your creativity and personalize your desserts like never before. The possibilities are endless! From cutting out the edible designs with precision and preparing your cake to delicately applying the toppers and creating 3D designs, the process is both fun and rewarding.
So, why settle for ordinary desserts when you can impress your guests with edible dessert decorations? Elevate your sweet treats, make them truly memorable, and add that unique touch that sets your desserts apart. Start creating your own edible decorations today and let your imagination run wild!

