
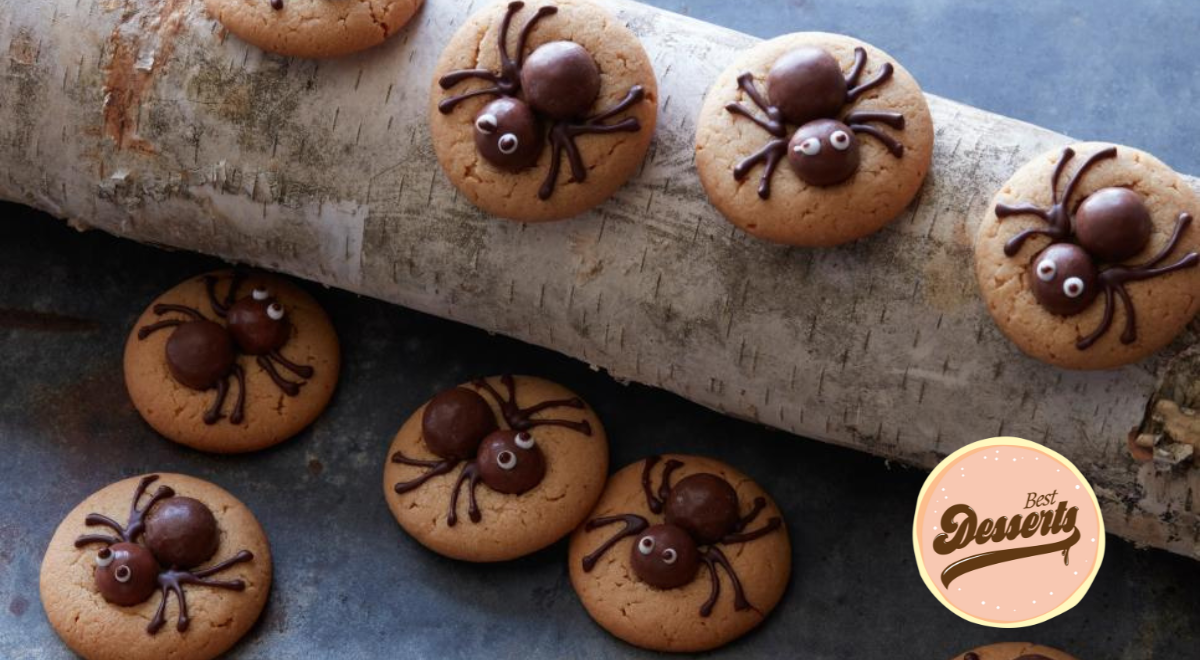
Have fun while making these Scary Peanut Butter Spider Cookies together with your loved ones!
Making these spooky spider cookies along with kids and adults is fun. There is fun for everyone, including pressing chocolate candies into warm cookies and sculpting comical eyes and spider legs out of chocolate.
Position oven racks in the top and bottom thirds of the oven and preheat to 375 degrees F. Line 2 baking sheets with parchment paper.
Sort the chocolate candies into bigger and smaller balls. The smaller balls will serve as the spider heads, while the larger balls will serve as the body.
In a small bowl, combine the salt, baking soda, and flour. In a medium bowl, use an electric mixer on medium-high speed to cream the butter and sugar until light and fluffy, about 3 to 4 minutes. After adding the vanilla and egg, mix everything for about a minute. Add the peanut butter and blend for approximately a minute, or until smooth. Turn the mixer speed down to low and add half of the flour mixture. Beat on medium until combined, then reduce the speed to low and gradually incorporate the remaining flour mixture. Beat at medium speed until combined.
Hand-roll the dough into 1-inch balls, lay them about an inch apart on the baking sheets, and bake for 16 minutes, rotating the baking sheets halfway through, or until the cookies are a light golden brown and have widened to about 2 inches. The tops of the cookies should feel dry and somewhat firm when touched with fingers, and they should have a strong peanut butter aroma.
Meanwhile, melt the chocolate in a double boiler. Take the mixture off the fire and quickly allow it to cool so that it is slightly thicker but still pipeable.
After the cookies have finished baking, take them out of the oven and place them on a cooling rack. Push 2 chocolate candies into each heated cookie at once, one in the center and the other directly behind it. Place the smaller chocolate ball toward the edge of the cookie.
When the melted chocolate has thickened slightly, put the melted chocolate into a plastic bag and snip a tiny hole in the corner to make a piping bag. Starting from the spot where the two chocolate candies meet, pipe 8 legs onto each cookie. The four legs at the front are piped upward toward the head, while the four legs at the back are piped backward past the torso. Reserve the remaining chocolate in the piping bag for the pupils of the eyes.
Use the cake decorating gel to pipe two 1/4-inch circles for eyes on the "heads" of each spider. To create the pupils, put a little dot of the reserved melted chocolate in the center of each.
When measuring flour, we spoon it into a dry measuring cup and level off the excess. (Scooping directly from the bag compacts the flour, resulting in dry baked goods.)
Ingredients
Directions
Position oven racks in the top and bottom thirds of the oven and preheat to 375 degrees F. Line 2 baking sheets with parchment paper.
Sort the chocolate candies into bigger and smaller balls. The smaller balls will serve as the spider heads, while the larger balls will serve as the body.
In a small bowl, combine the salt, baking soda, and flour. In a medium bowl, use an electric mixer on medium-high speed to cream the butter and sugar until light and fluffy, about 3 to 4 minutes. After adding the vanilla and egg, mix everything for about a minute. Add the peanut butter and blend for approximately a minute, or until smooth. Turn the mixer speed down to low and add half of the flour mixture. Beat on medium until combined, then reduce the speed to low and gradually incorporate the remaining flour mixture. Beat at medium speed until combined.
Hand-roll the dough into 1-inch balls, lay them about an inch apart on the baking sheets, and bake for 16 minutes, rotating the baking sheets halfway through, or until the cookies are a light golden brown and have widened to about 2 inches. The tops of the cookies should feel dry and somewhat firm when touched with fingers, and they should have a strong peanut butter aroma.
Meanwhile, melt the chocolate in a double boiler. Take the mixture off the fire and quickly allow it to cool so that it is slightly thicker but still pipeable.
After the cookies have finished baking, take them out of the oven and place them on a cooling rack. Push 2 chocolate candies into each heated cookie at once, one in the center and the other directly behind it. Place the smaller chocolate ball toward the edge of the cookie.
When the melted chocolate has thickened slightly, put the melted chocolate into a plastic bag and snip a tiny hole in the corner to make a piping bag. Starting from the spot where the two chocolate candies meet, pipe 8 legs onto each cookie. The four legs at the front are piped upward toward the head, while the four legs at the back are piped backward past the torso. Reserve the remaining chocolate in the piping bag for the pupils of the eyes.
Use the cake decorating gel to pipe two 1/4-inch circles for eyes on the "heads" of each spider. To create the pupils, put a little dot of the reserved melted chocolate in the center of each.
When measuring flour, we spoon it into a dry measuring cup and level off the excess. (Scooping directly from the bag compacts the flour, resulting in dry baked goods.)
Notes
Looking for more Halloween recipes? Check this out: The Best Halloween Dessert Recipes