
Table of Contents
Do you ever find yourself craving a scoop of creamy, delicious homemade ice cream? The kind that’s packed with incredible flavor and made with love? If so, you’re in for a treat! In this ultimate guide to homemade ice cream flavors, you’ll discover all the secrets to creating mouthwatering frozen delights right in your own kitchen. From classic favorites like rich vanilla and decadent chocolate to exotic combinations that will tantalize your taste buds, there’s a homemade ice cream flavor for every craving. But here’s the burning question: can you resist the temptation to dive into this article and uncover the best homemade ice cream flavors?
Whether you’re a novice or an experienced ice cream enthusiast, this guide will take you on a journey to ice cream heaven. You’ll learn the essential techniques, discover the must-have ingredients, and uncover insider tips to achieve the perfect texture and flavor. Get ready to unleash your creativity and surprise your loved ones with unique homemade ice cream combinations that will leave them begging for more. So, are you ready to embark on an unforgettable ice cream adventure? Let’s dive in and explore the world of homemade ice cream flavors!
Getting Started: What You Need to Make Ice Cream
To make delicious homemade ice cream, you’ll need a few essential ingredients and the right equipment. Let’s explore what you’ll need to get started on your homemade ice cream adventure!
Ingredients:
- Milk
- Cream
- Sugar
- Flavorings
The ingredients for homemade ice cream are simple and customizable. You can use different types of milk and cream based on your preferences. Whole milk and heavy cream are commonly used for a rich and creamy texture, but you can also experiment with alternatives like almond milk or coconut milk for a dairy-free option. Don’t forget the sugar to add sweetness to your ice cream base!
In addition to the basic ingredients, you can add various flavorings to create unique ice cream flavors. Vanilla extract, cocoa powder, fruit purees, or even spices like cinnamon or cardamom can elevate the taste of your homemade ice cream. Get creative and let your taste buds guide you!
Equipment:
- Ice cream maker
- Large bowl
- Sturdy spoon
An ice cream maker is an essential tool for making homemade ice cream. It churns the mixture and freezes it simultaneously, creating a smooth and creamy texture. There are different types of ice cream makers available, including manual churners and electric machines. Choose one that suits your needs and budget.
A large bowl is necessary for preparing your ice cream base and mixing in the flavors. Make sure it has enough capacity to accommodate the ingredients and allow room for expansion during the churning process.
Lastly, a sturdy spoon will come in handy for mixing the ingredients and scraping down the sides of the bowl. It’s important to have a strong utensil that can withstand the thick consistency of the ice cream base.
Now that you know what you need, you’re ready to embark on your homemade ice cream journey! Gather your ingredients and equipment, and let’s move on to the next steps in creating creamy and delicious homemade ice cream.
Heating the Ice Cream Base
One of the key steps in making homemade ice cream is heating the base mixture. To achieve the perfect consistency and flavor, it’s important to heat the milk and sugar until the sugar is completely dissolved. The heat also helps infuse any flavorings you choose to add, such as vanilla extract or chocolate.
To start, pour your desired amount of milk into a saucepan and add the sugar. Place the saucepan over medium heat and stir the mixture continuously until the sugar is fully dissolved. Be sure to use a sturdy spoon or whisk to ensure the ingredients are well combined.
Heating the milk not only dissolves the sugar but also helps integrate any flavorings you want to infuse into the ice cream base. For example, if you’re making vanilla ice cream, you can add vanilla extract to the heated milk. This will give your homemade ice cream a rich and authentic vanilla flavor.
Once the base is heated and the sugar is dissolved, you can remove the saucepan from the heat and allow the mixture to cool. It’s important to cool the base thoroughly before moving on to the next step.
Place the cooled ice cream base in a covered container and refrigerate it for at least 2 hours, or until it reaches a temperature of 40°F (4°C). Chilling the base is crucial as it helps to stabilize the mixture and ensures that it churns properly in the ice cream maker.
Once your ice cream base has been cooled and chilled, it’s ready to be churned in the ice cream maker. The cooling process allows the flavors to meld together and results in a smooth and creamy texture in your homemade ice cream.
Next, move on to Section 4: Churning the Ice Cream to learn the techniques and tips for creating the best homemade ice cream.
Churning the Ice Cream
Once your ice cream base has been properly chilled, it’s time to move on to the exciting step of churning it. Churning is a crucial technique in the homemade ice cream-making process, as it helps achieve a smooth and creamy texture, while preventing the formation of unpleasant ice crystals.
There may be slight variations in the churning process depending on the model of your ice cream maker. To ensure optimal results, it’s important to follow the manufacturer’s instructions. However, here is a general step-by-step guide to help you churn your ice cream:
- Pour the Base: Carefully pour your chilled ice cream base into the ice cream maker. Be sure not to overfill it, as the mixture will expand as it churns.
- Insert the Paddle: Attach the paddle or dasher securely to the ice cream maker, ensuring it’s properly aligned.
- Start Churning: Turn on the ice cream maker and let it churn the mixture. This typically involves the paddle rotating within the ice cream maker, incorporating air into the mixture and freezing it simultaneously.
- Monitor the Time: Keep an eye on the churning time specified in your ice cream maker’s instructions. This duration can vary depending on the model and the desired consistency of your ice cream.
- Check for Doneness: After the recommended churning time has passed, check the consistency of your ice cream. It should be thick and creamy, with a texture similar to soft serve.
- Transfer and Freeze: Once the ice cream reaches the desired consistency, carefully transfer it from the ice cream maker into a lidded container. Seal the container tightly and place it in the freezer to allow the ice cream to firm up further.
Congratulations! You’ve successfully churned your homemade ice cream. Now, the only thing left to do is to patiently wait for it to freeze completely and develop its irresistible flavors.
Adding Mix-Ins and Flavors
Adding mix-ins and flavors is where you can get creative with your homemade ice cream. Whether you’re a fan of classic combinations like cookies and cream or want to experiment with unique flavors like lavender-honey or balsamic-strawberry, the possibilities are endless.
You can add a variety of mix-ins to your homemade ice cream to enhance the flavor and texture. Consider adding chocolate chips, nuts, fruits, or even swirls of caramel or fudge. Mix-ins not only add extra indulgence but also create delightful surprises in every bite.
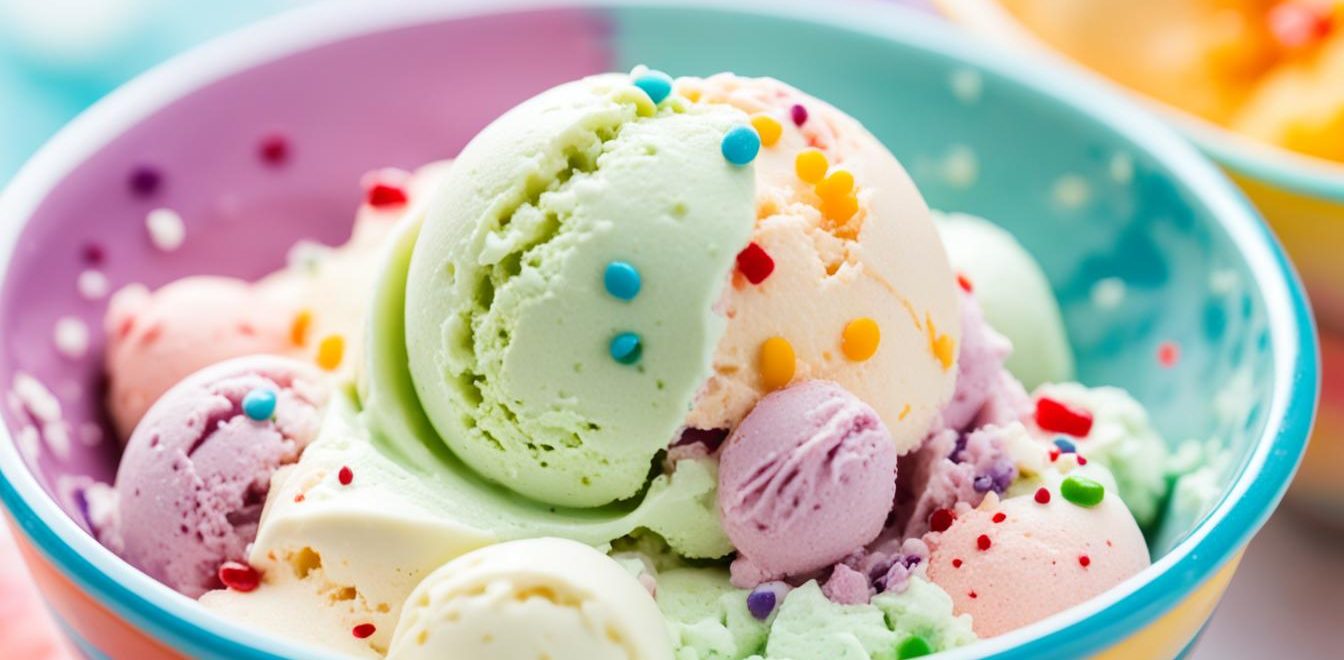
To take your homemade ice cream to the next level, try experimenting with different flavor combinations. Combine your favorite ingredients and let your taste buds guide you. From tangy lemon and blueberry to rich and indulgent chocolate and strawberry, the options are endless.
Get inspired by the image below and let your imagination run wild as you explore the world of homemade ice cream flavors:
With these mix-ins and flavor combinations, your homemade ice cream will be a taste sensation that will impress family and friends. So don’t be afraid to get creative and try something new!
Making No-Churn Ice Cream
If you don’t have an ice cream maker, don’t worry! You can still make delicious homemade ice cream using the no-churn method. It’s quick, easy, and requires just a few simple ingredients.
To get started, you’ll need:
- Heavy cream: This will give your ice cream its creamy texture.
- Sweetened condensed milk: This adds sweetness and richness to your ice cream.
- Flavorings and mix-ins: Choose your favorite flavors, like vanilla extract or cocoa powder, and add any mix-ins you desire, such as chocolate chips or crushed cookies.
Now, follow these steps to make your homemade no-churn ice cream:
- Step 1: In a large mixing bowl, whip the heavy cream until it thickens and forms soft peaks. This can be done with a hand mixer or stand mixer.
- Step 2: Gradually pour in the sweetened condensed milk while continuing to whip the mixture. This will further thicken the mixture and create a smooth base.
- Step 3: Stir in your desired flavorings and mix-ins. This is where you can get creative and experiment with different combinations.
- Step 4: Transfer the mixture into a freezer-safe container. Smooth the top with a spoon or spatula.
- Step 5: Place the container in the freezer and let it freeze for at least 4-6 hours, or until it reaches the desired consistency.
That’s it! Your homemade no-churn ice cream is ready to be enjoyed. Serve it in bowls or cones, and don’t forget to add your favorite toppings.
In a hurry? You can speed up the freezing process by using a shallow dish, which allows the ice cream to freeze more quickly.
With the no-churn method, you can easily customize your ice cream flavors, experiment with different ingredients, and enjoy creamy, homemade ice cream without the need for specialized equipment. So why wait? Start creating your own delightful frozen treats today!

Tips and Tricks for Homemade Ice Cream Success
Making homemade ice cream can be a fun and rewarding experience, but it can also be challenging. Whether you’re a beginner or an experienced ice cream maker, these tips and tricks will help you achieve homemade ice cream success.
Achieving the Perfect Texture
One of the keys to great homemade ice cream is achieving the perfect texture. To ensure a creamy and smooth consistency, be sure to use high-quality ingredients. Opt for full-fat milk and cream, as they will result in a richer and creamier ice cream. Additionally, make sure your ice cream base is properly chilled before churning to promote a creamy texture.
Preventing Ice Crystals
Ice crystals can ruin the texture and mouthfeel of homemade ice cream. To prevent ice crystals from forming, make sure to mix your ice cream base thoroughly and evenly. This will help distribute the fat particles and prevent large ice crystals from forming. Another tip is to store your homemade ice cream in an airtight container to minimize exposure to air, which can cause ice crystals to form.
Enhancing Flavors
To make your homemade ice cream flavors shine, consider infusing your ingredients. For example, you can steep herbs, like mint or lavender, in the warm milk and cream to infuse their flavors. Additionally, consider using high-quality extracts or flavorings for a more intense and authentic taste. Experiment with different combinations and proportions to find the perfect balance of flavors that you enjoy.
Experimenting with Mix-Ins
Adding mix-ins to your homemade ice cream can take it to the next level. From chunks of chocolate to caramel swirls to crushed cookies, the options are endless. Just make sure to add the mix-ins towards the end of the churning process to ensure even distribution.
Proper Storage
Properly storing your homemade ice cream is essential for maintaining its freshness and quality. After churning, transfer your ice cream to an airtight container and press plastic wrap directly onto the surface to minimize air exposure. Store the container in the coldest part of your freezer to maintain the optimal consistency and flavor.
By following these homemade ice cream tips and techniques, you’ll be able to troubleshoot common issues and create the best homemade ice cream possible. So put your knowledge to the test and start experimenting with flavors, mix-ins, and techniques to enjoy the perfect scoop of homemade goodness.
Serving and Storing Homemade Ice Cream
Once your homemade ice cream is ready, it’s time to enjoy it! Here are some tips on serving and storing your delicious creation.
Achieving the Perfect Scoop
When serving homemade ice cream, it’s important to achieve the perfect scoop. To make scooping easier, let your ice cream sit at room temperature for a few minutes before serving. This will soften it slightly and make it easier to scoop. Use a sturdy ice cream scoop and press firmly into the ice cream, then release it onto a chilled dessert bowl or cone.
Creating Ice Cream Sundaes
If you want to take your homemade ice cream to the next level, try creating ice cream sundaes. Layer your favorite flavors of ice cream with whipped cream, hot fudge sauce, caramel sauce, and sprinkles. Top it off with a cherry for the perfect finishing touch. Get creative and experiment with different toppings to create your own signature ice cream sundae.
Making Ice Cream Sandwiches
Another fun way to enjoy homemade ice cream is by making ice cream sandwiches. Take your favorite cookies, like chocolate chip or oatmeal raisin, and place a scoop of homemade ice cream between two cookies. Press gently to sandwich them together, and if desired, roll the sides in sprinkles or nuts for an extra touch of flavor and crunch. Wrap each sandwich in plastic wrap and freeze until ready to enjoy.
Properly Storing Homemade Ice Cream
To maintain the freshness and flavor of your homemade ice cream, it’s important to store it properly. Transfer any leftover ice cream into an airtight container, such as a freezer-safe plastic container or a resealable freezer bag. Press a piece of plastic wrap directly on the surface of the ice cream to prevent ice crystals from forming. Place the container in the freezer, ideally at a temperature below 0°F (-18°C), to ensure that the ice cream stays frozen and lasts longer.
Now that you know how to serve and store your homemade ice cream, you can enjoy its deliciousness whenever you crave a cool and creamy treat. So go ahead, savor every spoonful of your easy homemade ice cream and let your taste buds delight in the endless homemade ice cream ideas.
Conclusion
Making homemade ice cream is a rewarding and delicious experience. With this ultimate guide, you now have all the knowledge and techniques to create a variety of homemade ice cream flavors. From the basic ingredients to advanced flavor combinations, you can let your creativity run wild in the kitchen.
So grab your ice cream maker, gather your favorite ingredients, and start churning your way to homemade ice cream perfection. The possibilities are endless, and the joy of indulging in your very own homemade ice cream creations is incomparable.